
Start with a finished panel
The quickest way to see where the set-up has gone is to pick up a panel that's just come off the machine. Each unit leaves its own fingerprint on the edge, so once you know what you're looking at you can usually point to the unit that needs attention. Run a fingertip along the edge and round the corners, and have a proper look at the glue line and both ends in good light, away from the machine.
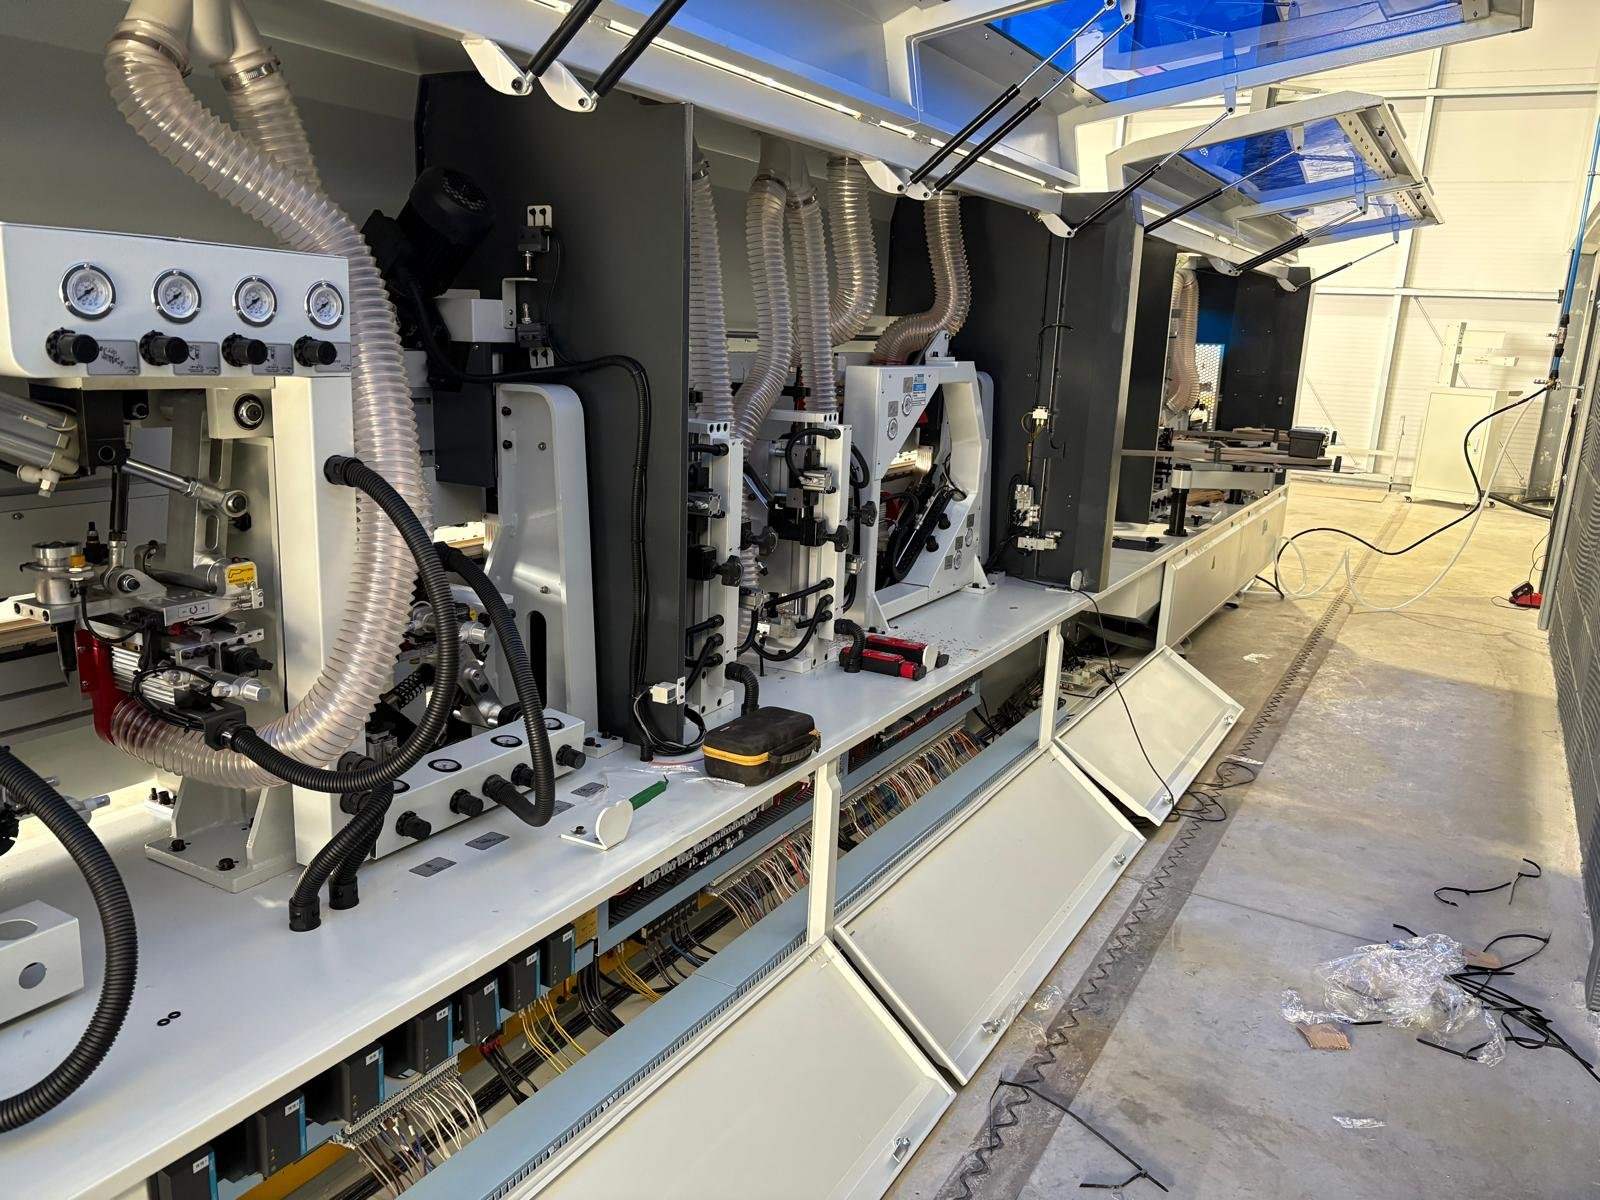
At the front: the premill and the pressure section
The premill is a pair of cutters that skim a fresh, square edge on the board just before the glue goes on, taking out any chips or unevenness left by the saw. When it's set right you never think about it. When it drifts, you get chipping along the edge, or a small step where one cutter is taking more than the other, and because the edging is then going on to an edge that isn't square, a visible glue line often follows.
After the glue, the pressure rollers press the edging on and hold it while the glue grips, so they need to push evenly and in the right place. If the pressure is off, the edging can end up tight at one end of a panel and loose at the other, or start coming away at the corners. And a board that slips or skews under the top pressure beam on its way in won't come out with a clean edge, however carefully everything after it is set. Dents or roller marks pressed into the face of your boards often point back here too.
At the back: trimming, corner rounding, scrapers and buffers
Once the edging is on, the rest of the machine is tidying it up. The end trim saws cut the overhang off at the front and back of each panel, so if they've drifted you'll see a sliver of tape left proud at the ends, or a nick where the saw has caught the board. The top and bottom trimming units then take the overhang off the long edges, flush or to a radius. Set too shallow, they leave the edging standing proud. Set too deep, they cut into the face, which on a decor board shows up as a pale line running along the edge.
On machines that have it, the corner rounding unit follows each front and back corner so the radius carries on round from the long edges. When it's out of adjustment the corners aren't followed cleanly, and you get a flat spot or a little step right where the curve should flow. The scrapers come next, taking the fine cutter marks off the radius and lifting any glue squeezed out on to the faces, and the buffers finish the job with a polish, though a buffer in the wrong place leaves the edge dull in patches. Chatter or ripple marks can come from the trimming units, the scrapers or worn tooling, which is why we check the tooling while we're setting the units up.
Why edgebander calibration drifts over time
Every machine moves out of adjustment slowly. Vibration, the odd panel that jams and knocks a unit, cutters wearing and being swapped, and changes of board or tape thickness all chip away at a set-up that was spot on the day it was done. None of that means there's anything wrong with your edge bander. It's what happens to one that's earning its keep.
There's one thing worth watching for, though. If settings won't hold, or units start coming in out of sequence, that's more than ordinary drift. It can be down to the controls, a sensor or a sticking cylinder, and setting the units up again won't cure it. It's worth finding first, because there's little point calibrating a unit that'll move again by Friday.
When it's wear rather than set-up
Sometimes what looks like a set-up problem turns out to be a worn part. Pressure rollers that have gone hard or flat can't press the edging on evenly however they're adjusted, and a blunt cutter will leave marks that even a perfectly aligned unit can't hide. If we come across something like that, we'll tell you straight, give you our recommendation and let you know what the part and the fitting would cost. Replacing worn parts is work we do, but it only goes ahead once you're happy with the price.
Helping your team keep it right
The better the people running the machine understand what each unit does, the longer a good calibration lasts. If your operators want to get more confident with it, we run a course called Machine Setup and Calibration, one of the six we teach. We teach it at your workshop, to a single operator or the whole shift, and the full list is on our training page.
Getting your edgebander set up again
Edgebanders are all we work on, from Holz-Her, Casadei and Hebrock to OAV, Nanxing, Cehisa, IMA, Homag, SCM and Biesse. If yours isn't one of those, it's still worth a call. To arrange a visit, ring 07961 849601.
If you'd rather have someone look at it before anyone travels, our £95 plus VAT remote call gives you 45 minutes with us. Tell us the make and model, send photos of the edge and a short video of a panel going through, and we'll tell you whether it looks like set-up, wear or something else. If it can't be put right on the call, we take £45 off the visit.
